My first post in over a year will be on gardening. I know it's past the end of the summer gardening season, but I've had lots of family and friends ask how we made our garden.
Here is a before and after photo:


 Assembly line of all the planks. The longer ones are 8 feet. The shorter edges are 4 feet. The planks are 6 inches tall (to make boxes that are 8x4x1).
This box is upside down.


 Picture of some small plants in the boxes. In this picture, automatic drip system has not been hooked up yet.


Then, be ready to harvest. We were so successful, we had to give away a lot of stuff.
Among the things we planted our first year (2013):


The process was a relatively long one, taking up several weekends. Some of the steps were done simultaneously and not necessarily in the order below (i.e. we built boxes and dug up sprinklers pretty much simultaneously, since digging up old sprinkler systems and putting in a new one was rather labor intensive).
First, we mapped out what we had. When we started following where each of the old sprinkler pipes went and we ended up with this:
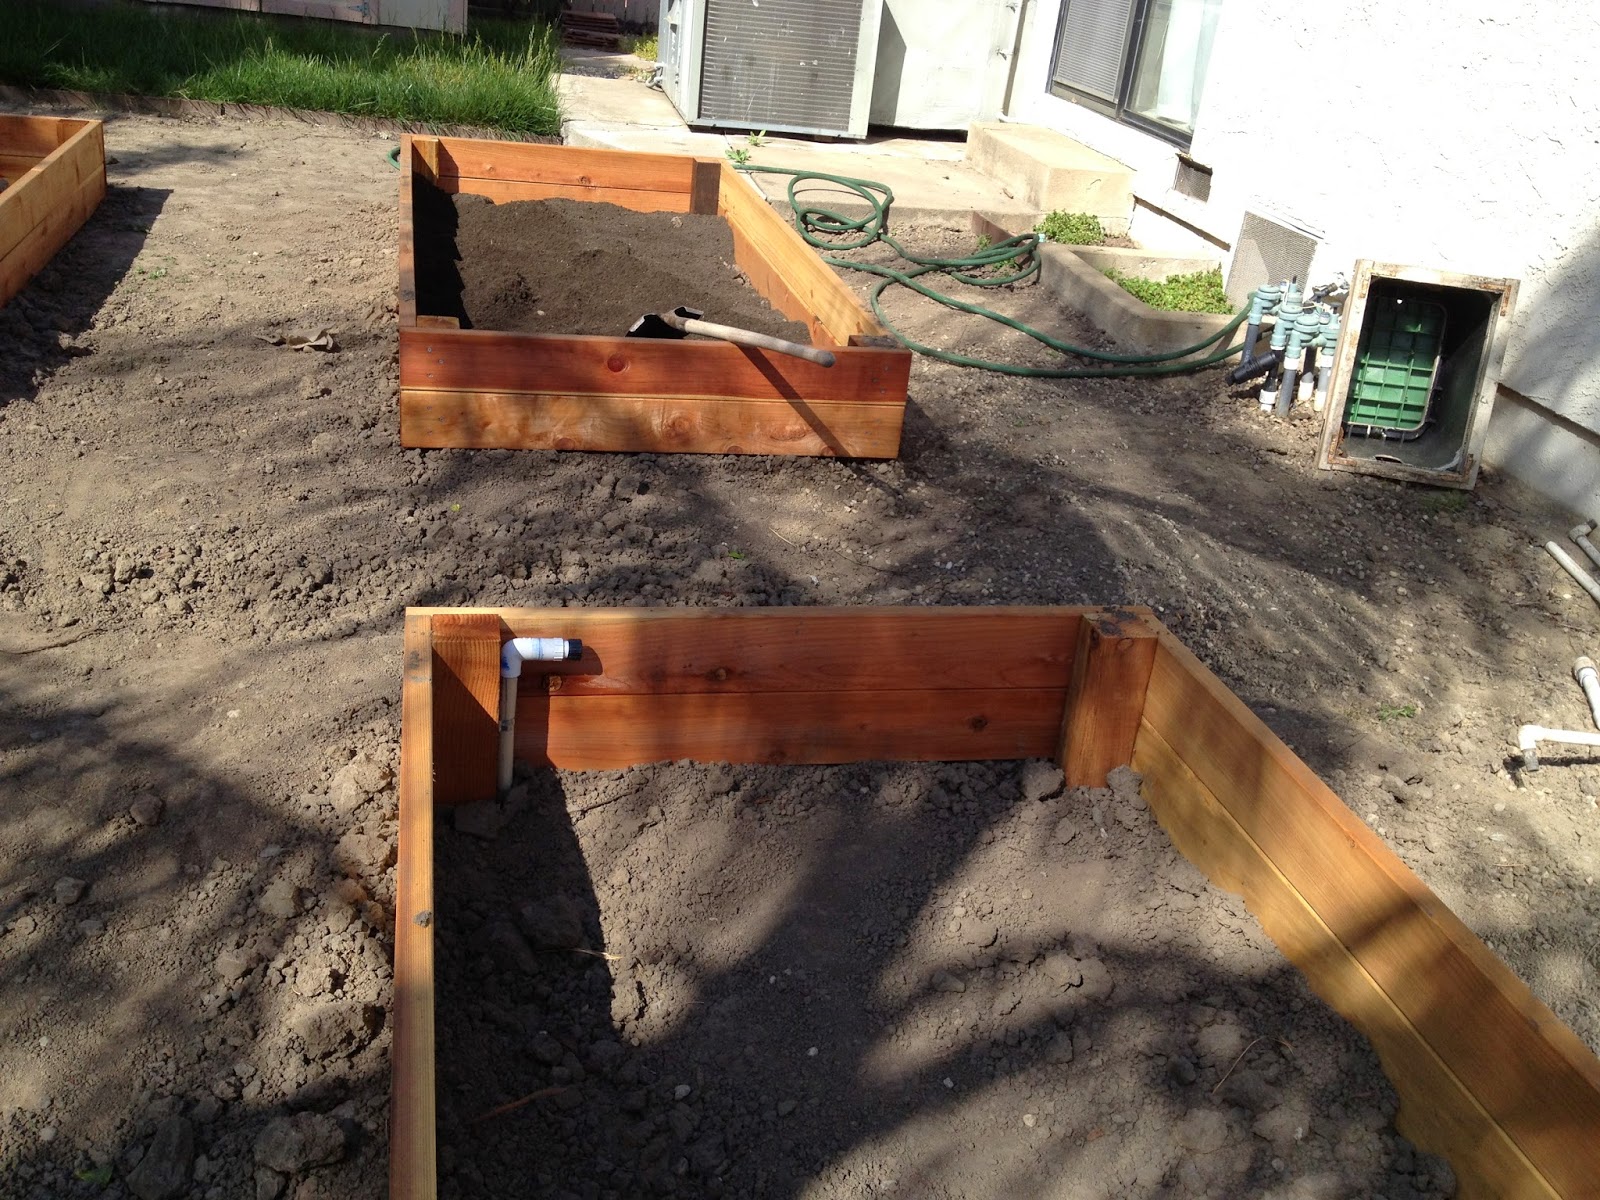
After pulling out all the old pipes, we put in new pipes and system, which looks like this:
In the pictures above, you can see that we did an "H" formation for our sprinkler pipes. One main pipe going in between the 4 boxes with an outlet at each box. We also added two outlets on the outside of two of the boxes, to allow watering of the ground outside the boxes, where we would eventually plant squash, melons, and corn.
Simultaneous with digging up sprinklers, my handy hubby built the boxes.
All the wood lined up, ready to be assembled. In short, we used this tutorial, with some minimal tweaking.
We used redwood deck planks, costing about 60 cents per linear foot.


This box is upside down.
The 4 boxes, lined up and in position. The posts go into the ground about 12". This may be a bit excessive as the position of the boxes is pretty set once you have soil in them.
The boxes are 4' x 8'. They are approximately 30" apart from each other.
Things to keep in mind:
- Level the boxes before putting soil in them.
- Make sure that your boxes are equidistant from each other. You don't want a wonky grid of boxes.
- Make sure you have enough room on each side of the boxes to navigate wheelbarrows, tools, lawn mower, etc. We mapped out the locations of each of the boxes on a paper sketch before deciding how many boxes and the final layout.
Next step is then to fill the boxes w/ soil. We chose to get planting soil delivered to us (which meant dropped on our driveway). The other pile is mulch, to surround the boxes.
This step took a full day of wheelbarrow-ing. Be prepared and plan your delivery date accordingly.
Lastly, you pick your vegetables and plant away!
This picture shows the box containing peppers (bottom right in the picture above), after a few weeks and with the watering system attached. We used a drip system with an emitter at each plant. Tomatoes and peppers got more water (higher flow emitters) and other plants were lower. We also used 360 degree emitters on spikes for our lettuce bed.
After a few months, watch how they grow.
Then, be ready to harvest. We were so successful, we had to give away a lot of stuff.
Among the things we planted our first year (2013):
- Tomatoes (6 plants)
- Snow peas
- Cucumbers
- Watermelon
- Cantaloupe
- Eggplant
- Bell peppers
- Habanero peppers
- Variety of herbs (about 8 types of Vietnamese herbs + traditional herbs of basil, oregano, thyme, sage)
- Eggplant
- Lettuce (3-4 varieties)
- Strawberries (unsuccessfully - they don't like the extreme heat of Sacramento)
- Zucchini
Things we planted our second year (in addition to above)
- Corn (3 varieties - unsuccessfully)
- Thai chiles
- Delicata squash